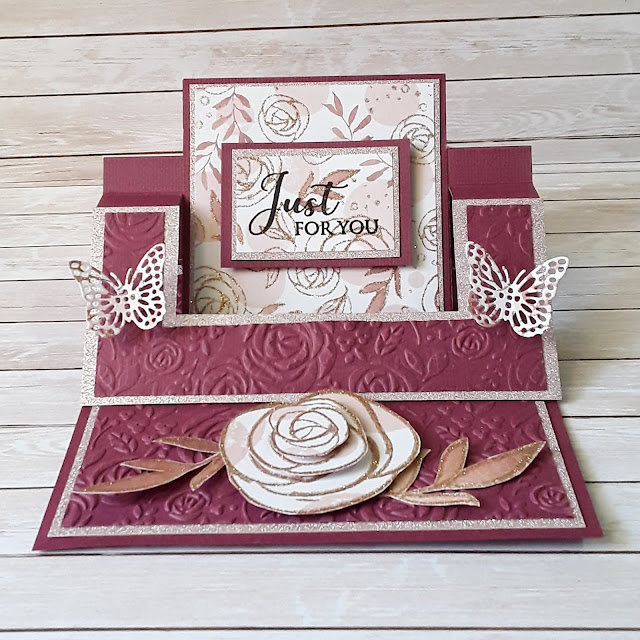
Bow card / Carte noeud
-Sara Signature Collection Garden of Love 6x6 and 12x12 paperpads
-Sara Signature Collection Vintage Lace dies from the set Baroque Frames
-Nature's Garden Collection Spring is in the air Butterfly die from the set Beautiful butterflies
-Centura Pearl double sided pink cardstock
-Circle Dies
-Collall Glue
-Double sided tape
-3D glue
Hello everyone !
Yesterday, I decided to make a bow card. So Today, I share the result with you !
I managed to take some step by step pictures for the main part, I thought it would be easier for those who want to try it 

For the base of the card, I took a 6" x 6" pattern paper and I matted and layered it with a 6.5" x 6.5" centura Pearl cardstock.
I also cut a 4"x 4" square and matted and layered it too.
Now, for the bow part :
First, I die cut four times each of those parts :
Then I matted and layered them :
After that, I bounded them and glued their extremities.
I used double sided tape, it's easier and faster :
I used double sided tape, it's easier and faster :
Then, I die cut two circles and glued the small parts of the bow on top of the bigger ones :
I glued the four parts of the bow under the circle and added a butterfly on the center.
There you go !
May the craft be with you !
Bonjour à toutes et à tous,
Hier, j'ai décidé de faire une carte "Nœud".
Je partage donc avec vous le résultat aujourd'hui !
Je partage donc avec vous le résultat aujourd'hui !
Je me suis arrangée pour vous prendre des photos des différentes étapes de la création de la partie centrale. Je me suis dis que cela pourrait être utile et plus clair pour ceux qui voudrait s'y essayer 

Pour la base de la carte, j'ai superposé un carré de 15 cm de papier à motifs avec un carré légèrement plus grand de papier épais rose Centura Pearl. J'ai également découpé un autre carré de 10 cm et fait la même chose.
Ensuite, pour la partie "nœud" :
Tout d'abord, j'ai découpé à l'aide de matrices quatre fois chacune des pièces ci-dessous :
Tout d'abord, j'ai découpé à l'aide de matrices quatre fois chacune des pièces ci-dessous :
Ensuite, je les ai superposées :
Après cela, j'ai arrondi les ovales et j'ai collé leurs extrémités.
J'ai utilisé du scotch double face, c’est plus pratique et rapide.
J'ai utilisé du scotch double face, c’est plus pratique et rapide.
Puis, j'ai collé les petites parties du nœud sur les grandes et j'ai découpé deux cercles que j’ai superposé.
J'ai également découpé deux pattes pour le nœud, et j'ai collé toutes les parties ensembles :


Beautiful!
ReplyDeleteThank you so much !
DeleteLovely
ReplyDeleteThank you very much !
Delete